Lighting is the cheapest way to double the hours your yard is usable, and the fastest way to make a modest landscape look designed. It is also where the most corners get cut.
This is the sequence we use on a San Diego lighting design: decide what you want to see at night, choose the technique for each of those things, then size the system around them.
Start with what you want to see, not where fixtures fit
Walk the yard after dark and pick the five or six things worth looking at — a multi-trunk tree, a stone wall, the entry, the steps down to the lower patio, the silhouette of a hedge. Everything else stays dark on purpose.
A yard where every plant is lit reads flat and slightly commercial. Contrast is the whole effect, and contrast requires darkness.
Techniques worth using
Combine three or four; avoid lighting everything evenly.
- Uplighting specimen trees and architectural plants — the workhorse
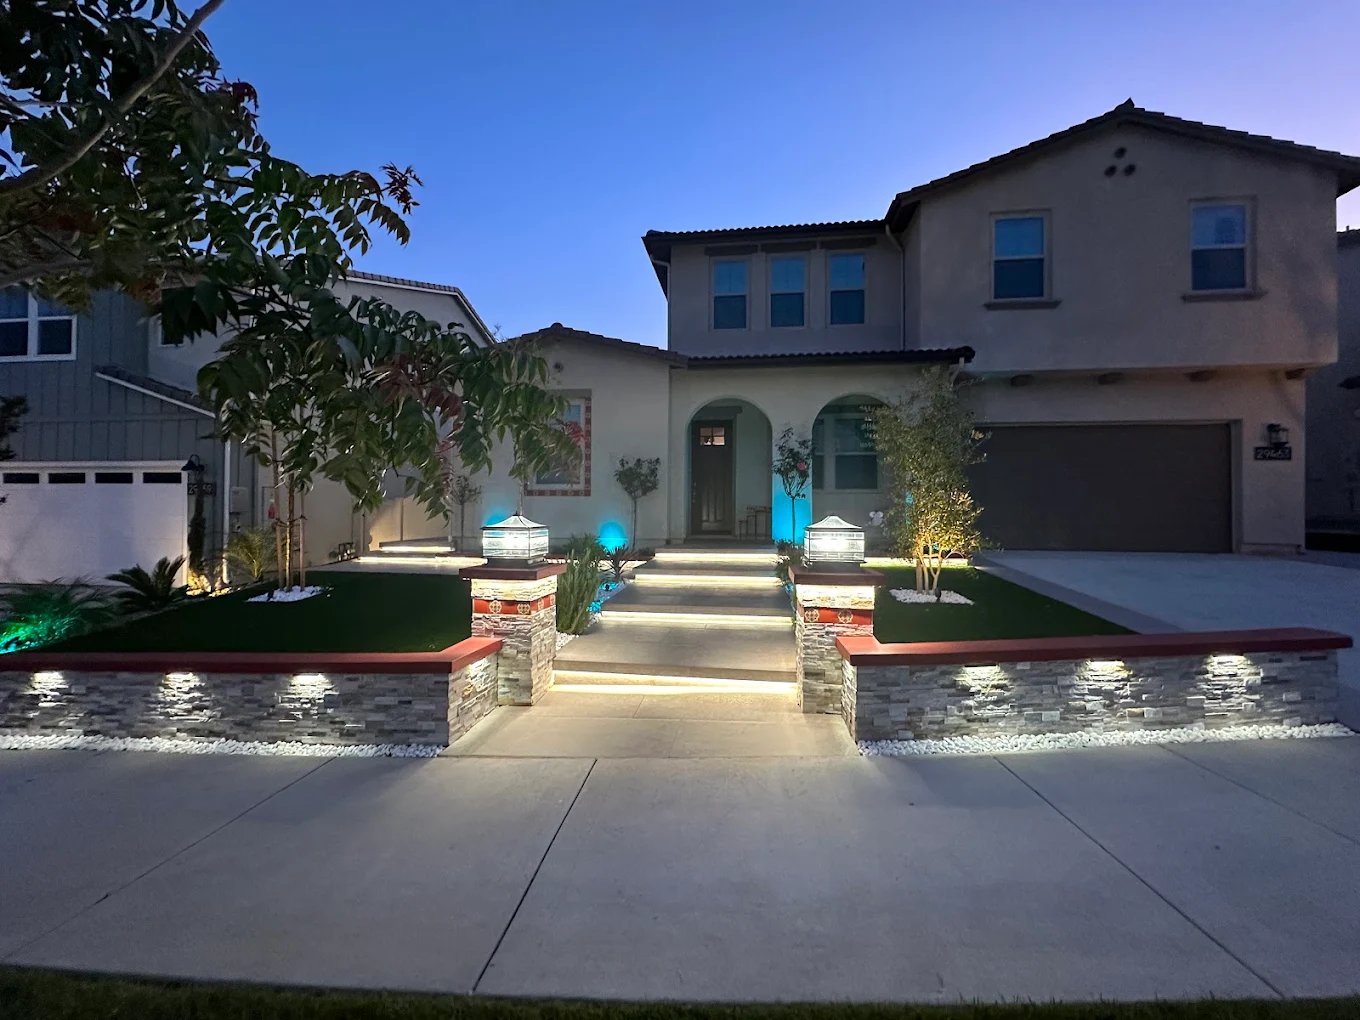
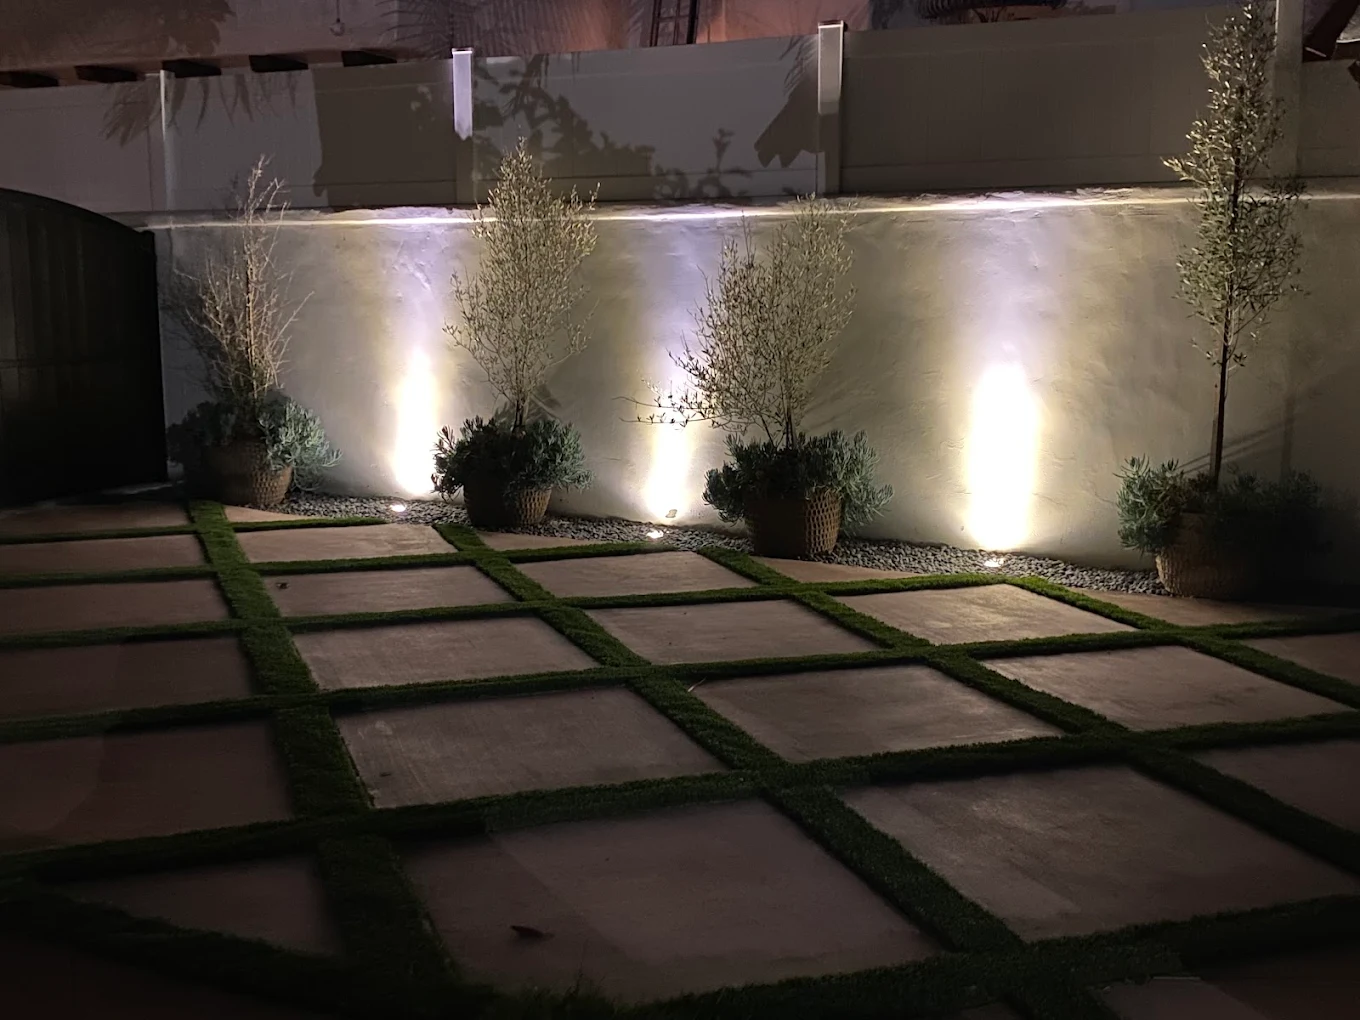
- Grazing across stone and stucco walls to reveal texture
- Downlighting / moonlighting from a tree canopy for soft, natural pools of light
- Step and wall lights for safety, mounted low and shielded
- Path lights used sparingly — 8 to 12 feet apart, never a runway of matched pairs
- Silhouetting — lighting the wall behind a plant instead of the plant itself
Lighting each zone of the yard
Different parts of a property want different treatment, and mixing them up is the most common reason a system looks busy.
| Zone | Primary technique | What to avoid |
|---|---|---|
| Entry and front walk | Low shielded path or wall lights plus one uplit specimen | Rows of matched path lights every four feet. |
| Patio and outdoor living | Moonlighting from above plus warm perimeter accents | Bright fixtures at eye level that flatten faces and cause glare. |
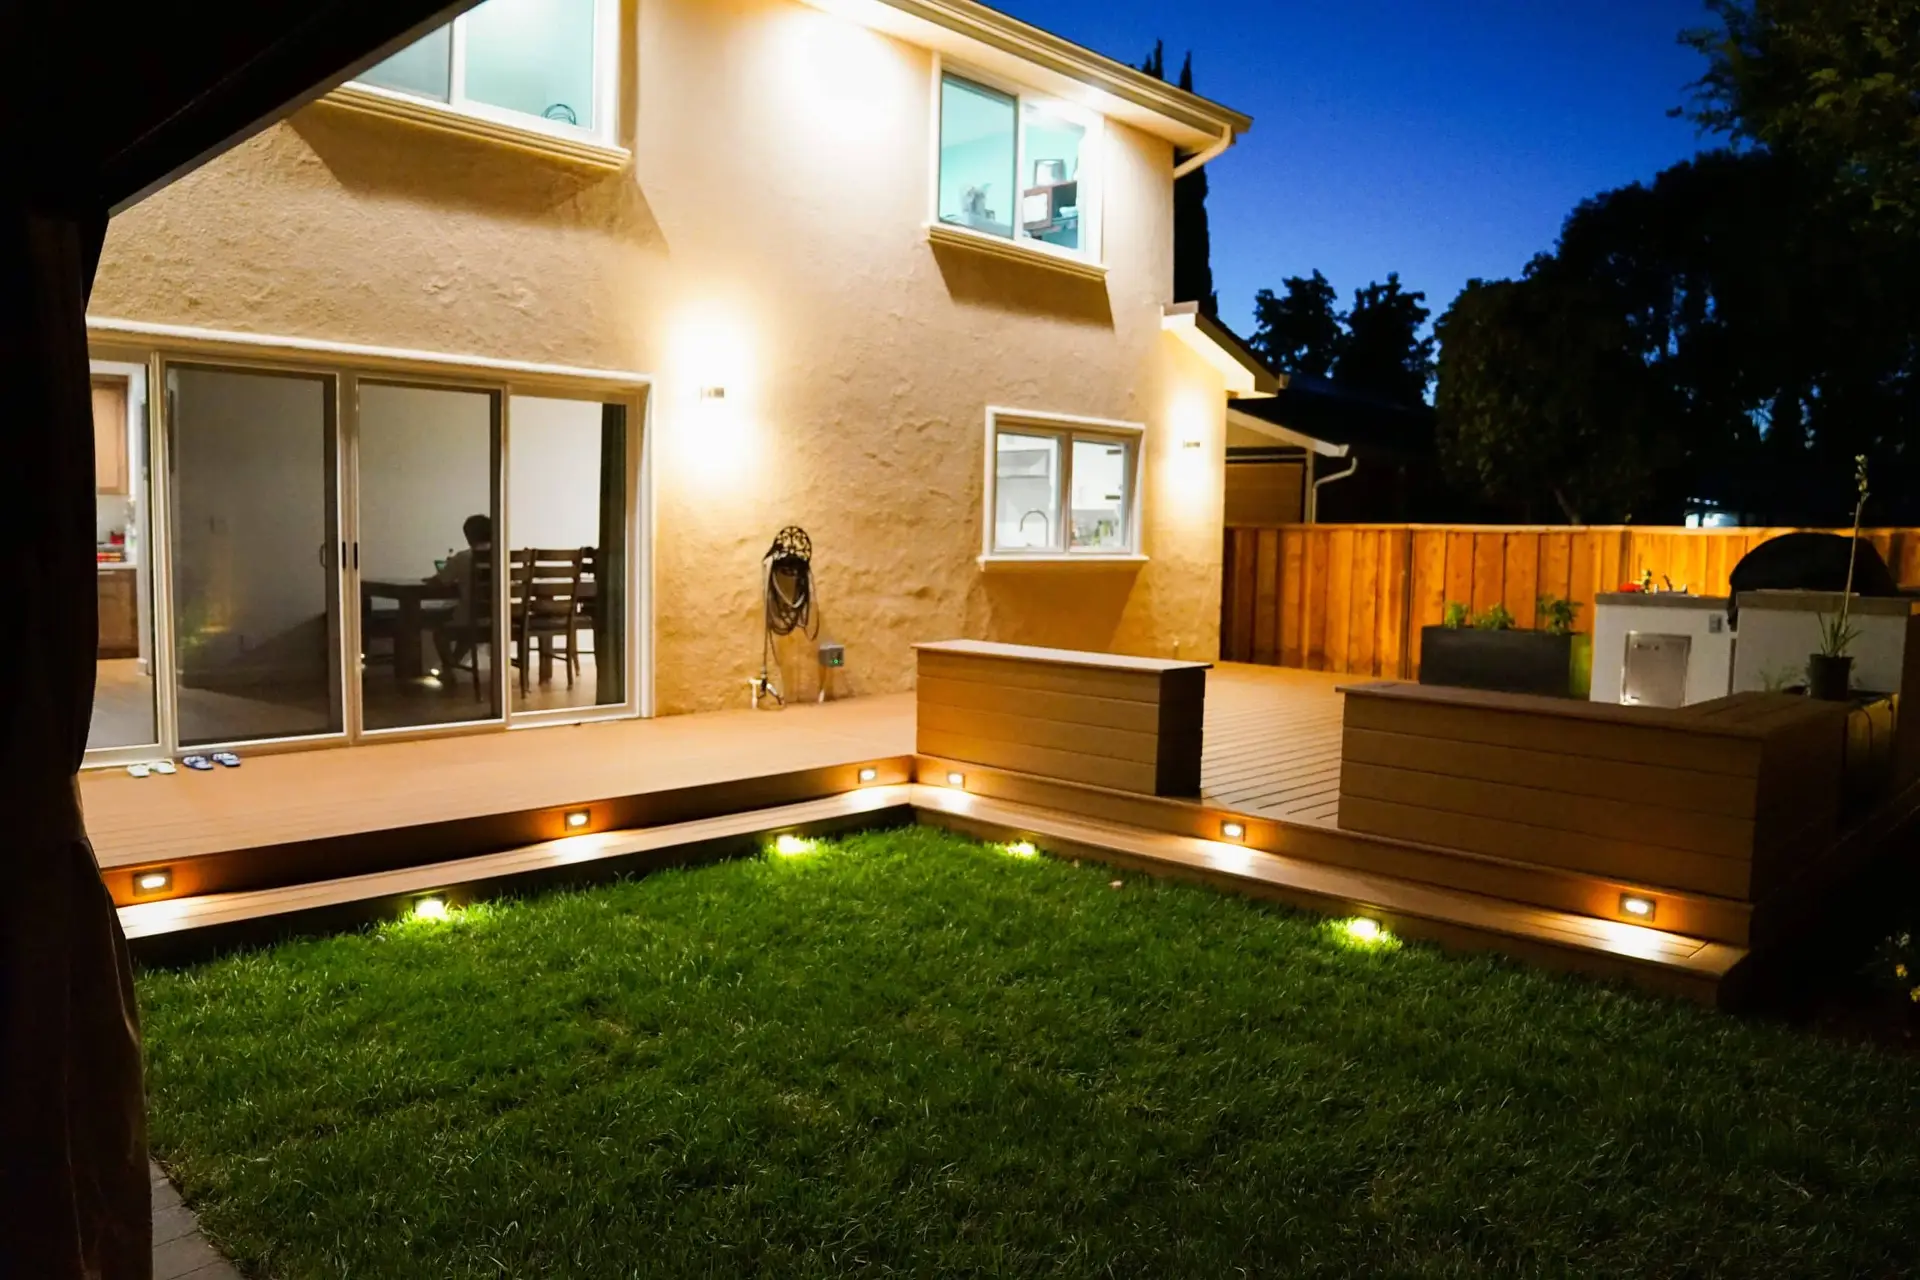
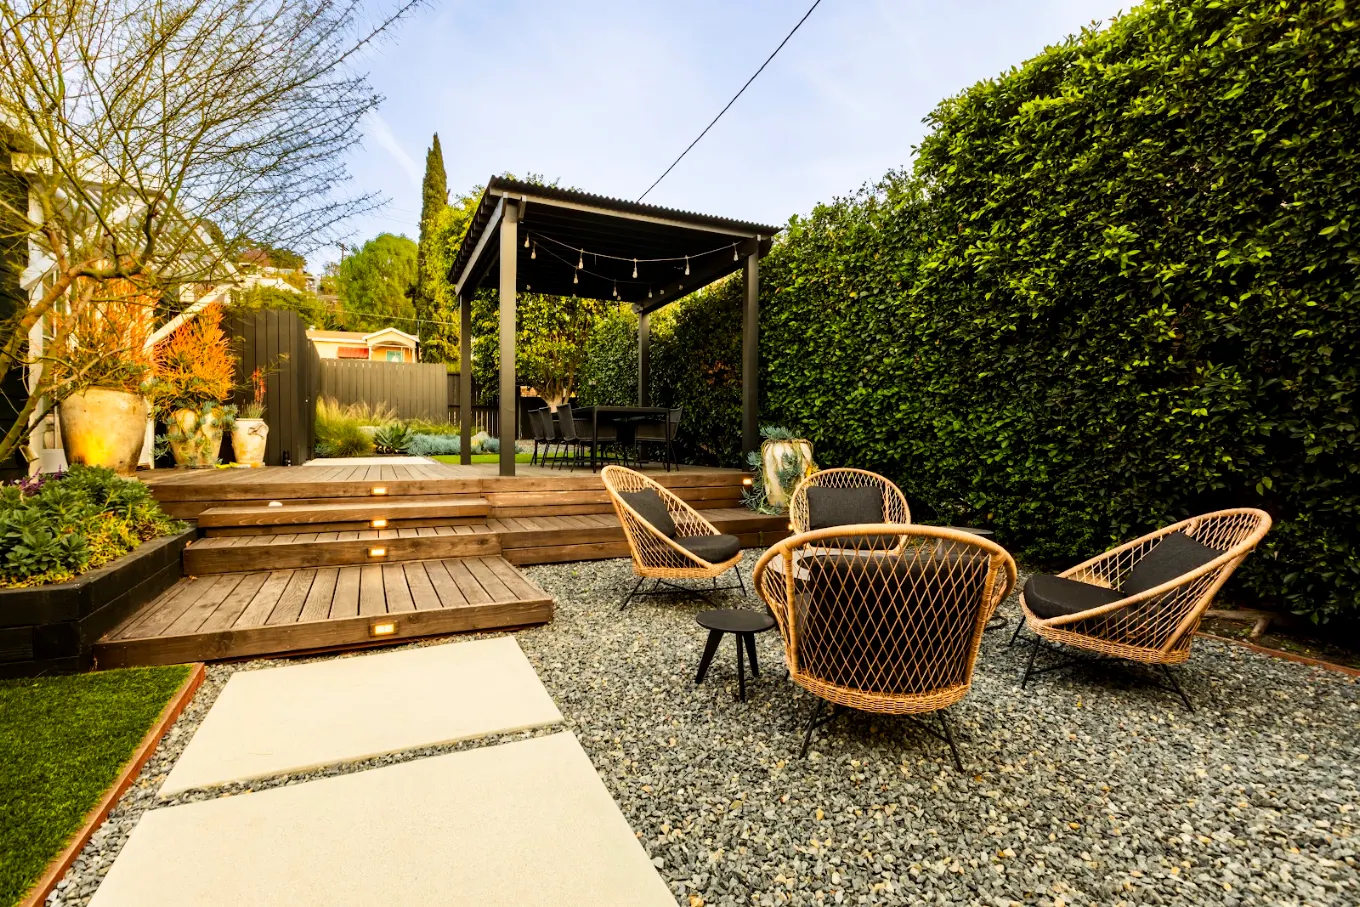
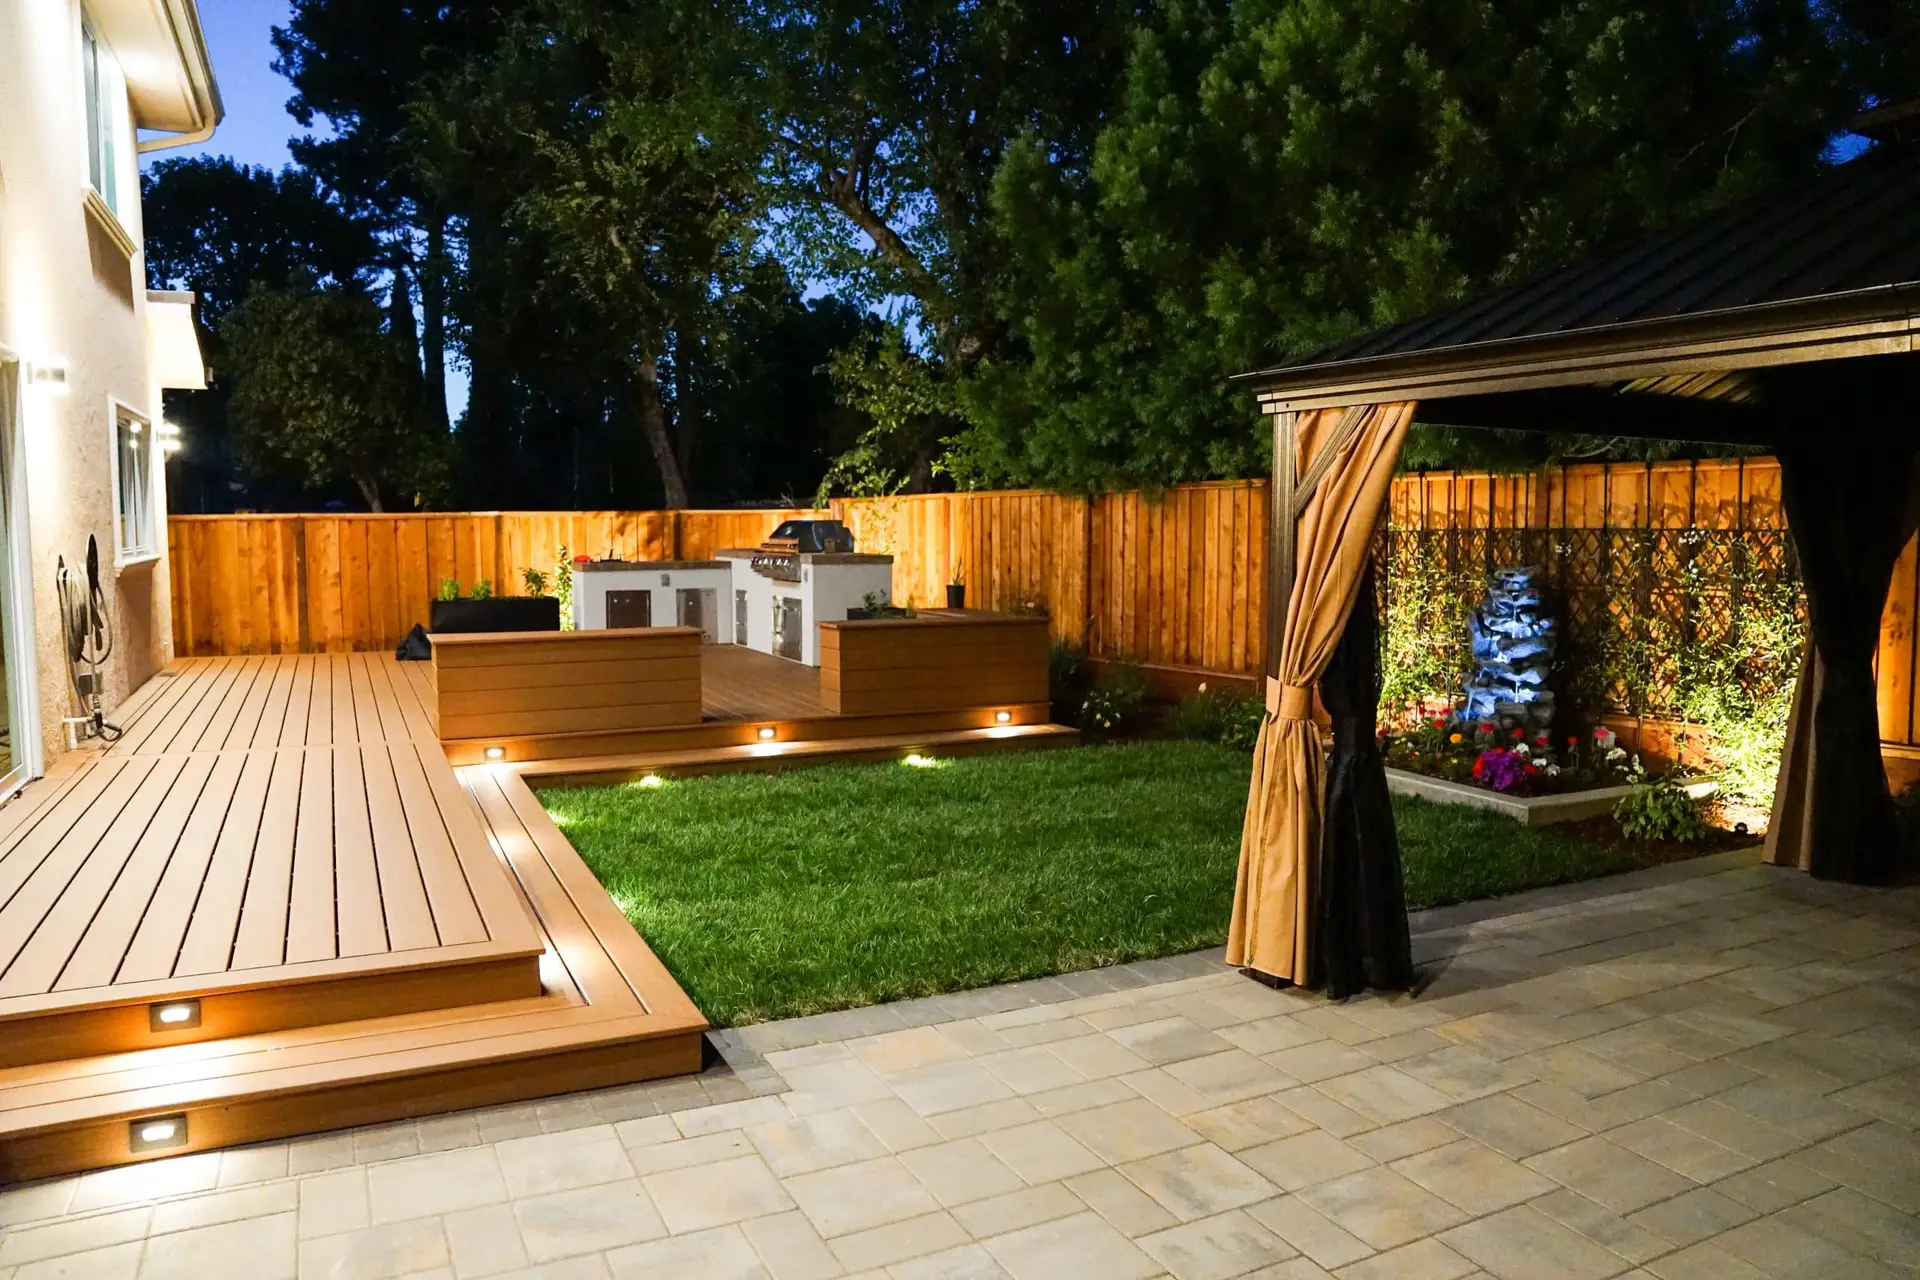
| Steps and grade changes | Recessed step lights or low wall washers | Relying on a distant flood to cover a stair run. |
| Trees and structure | Uplighting, narrow beams for tall canopies | One wide flood on everything; it reads like a parking lot. |
| Walls, stone and fences | Grazing from close to the surface | Placing the fixture far out, which washes texture away. |
Specs that determine lifespan
Brass and copper fixtures outlast aluminum and plastic dramatically in coastal salt air — non-negotiable in La Jolla, Coronado, Ocean Beach and Imperial Beach. Use 12-gauge direct-burial wire, waterproof silicone-filled connectors, and size the transformer to no more than 80% of capacity.
Color temperature: 2700K for warm, natural results. 4000K makes plants look gray-blue and hospital-lit.
Planning lighting during construction
The cheapest time to run lighting is while the yard is already open. Sleeves under patios, driveways and walkways cost almost nothing during construction and are expensive to add later.
We sleeve for lighting on hardscape builds even when lighting is a later phase, so the system can be added without cutting finished paving.
- Sleeve under every hard surface before it is poured or set
- Leave a transformer location with power near a side yard or garage wall
- Run a spare conduit to the far end of the yard for future zones
- Plan step light locations before the mason builds the stairs
Cost expectations
A quality low-voltage system runs roughly $250–$450 per fixture installed including wire, transformer and controls. A typical yard uses 12–24 fixtures. Cheap kit systems cost a fifth of that and are usually replaced within three to five years.
Control, scenes and light pollution
Astronomical timers turn the system on at dusk without you resetting anything through the year. Zoning lets you run the entry and steps late while the garden accents shut off at eleven.
Aim shielded fixtures down and away from neighbors and bedroom windows. Good lighting shows you the garden; it should not show your neighbors your fixtures.
Frequently asked
- How much does landscape lighting cost in San Diego?
- Roughly $250–$450 per fixture installed including wire, transformer and controls, with most yards using 12–24 fixtures. Fixture quality and how much trenching is needed drive the spread.
- Solar or low-voltage?
- Low-voltage, for consistent output and lifespan. Solar is fine for accent only.
- Can lighting be added later?
- Yes, but sleeve under hardscape during construction. Retrofitting under a finished patio means cutting it.
- Smart control?
- Astronomical timers and app-based zoning are worth it — set dusk-to-11pm and a low late-night scene.
- What color temperature should outdoor lighting be?
- 2700K. It flatters planting, stone and stucco. Cooler temperatures make foliage look grey and the yard look institutional.
- How many fixtures does a typical backyard need?
- Most yards land between 12 and 24. The number follows the features worth lighting, not the square footage.
- Do coastal yards need different fixtures?
- Yes. Salt air destroys aluminum and painted finishes quickly, so brass and copper are the practical choice anywhere near the water.